Showing posts with label sewing. Show all posts

Baby Carlie

Tuesday, May 15, 2012

I hope everyone had a fabulous Mothers Day!
For me, Mother's Day 2012 began on Friday morning when I went to drop off my latest project,
Baby Carlie's Christening outfit. 
It was made from the train of her Mother's wedding gown.


I love the fact that her Mom saved the picture of her wedding gown
that she tore out of the bridal magazine at the salon almost 15 years ago.

Carlie's has three older brothers ages; 12, 8 and 2.  Her mom has been waiting 14 years for this little princess to arrive.  She has told me that since the day she was married she dreamed about having a daughter
and having her wedding gown made into the christening gown. 


This was such a fun project to complete.
I really enjoyed removing the lace from the hem of her train and
 reworking it for Carlie's Christening Gown and Blanket.


Her Mother also requested that I make a Monogramed Christening Blanket.


Above are a few detail shots of her blanket


When Chris opened the box that contained Carlie's Christening Gown
her eyes filled with tears.
It was an amazing moment to watch her face light up and hear her reminisce about buying her wedding gown and talk about how she dreamed of having a daughter who would be able to wear a Christening gown made from her Wedding dress.
This Mother's day I was able to help make one mom's dream become a reality.
Life doesn't get much better than that :)


Interested in having a dress like this made for your little one ... email me at:


DIY Grocery Store

Monday, April 2, 2012


Last summer I did a guest post on Someday Crafts.
It was an awesome honor to post there.
I thought it was time to repost it here on my blog.

Today I'm going to show you how to knock off the PB Kids grocery store.
First my husband constructed a wooden frame from 1" x 2"s.
He used angle brackets to secure the corners of the frame.
The finished frame measured 49 1/2" tall, 24" wide,  and 19" deep.
Then I began covering the frame with canvas;
you could also use a drop cloth, old drapes, or even bed sheets
would work for making the frame cover.
 First I pinned a 1 1/2 yard long piece to the frame.
I made sure to place the selvage edge along the right back edge and pinned it to my frame
By placing the selvage edge along the outer frame I save myself from having to clean finish that edge.
I then folded the fabric allowing for some seam allowance along the right front corner. 
(see above far right photo)
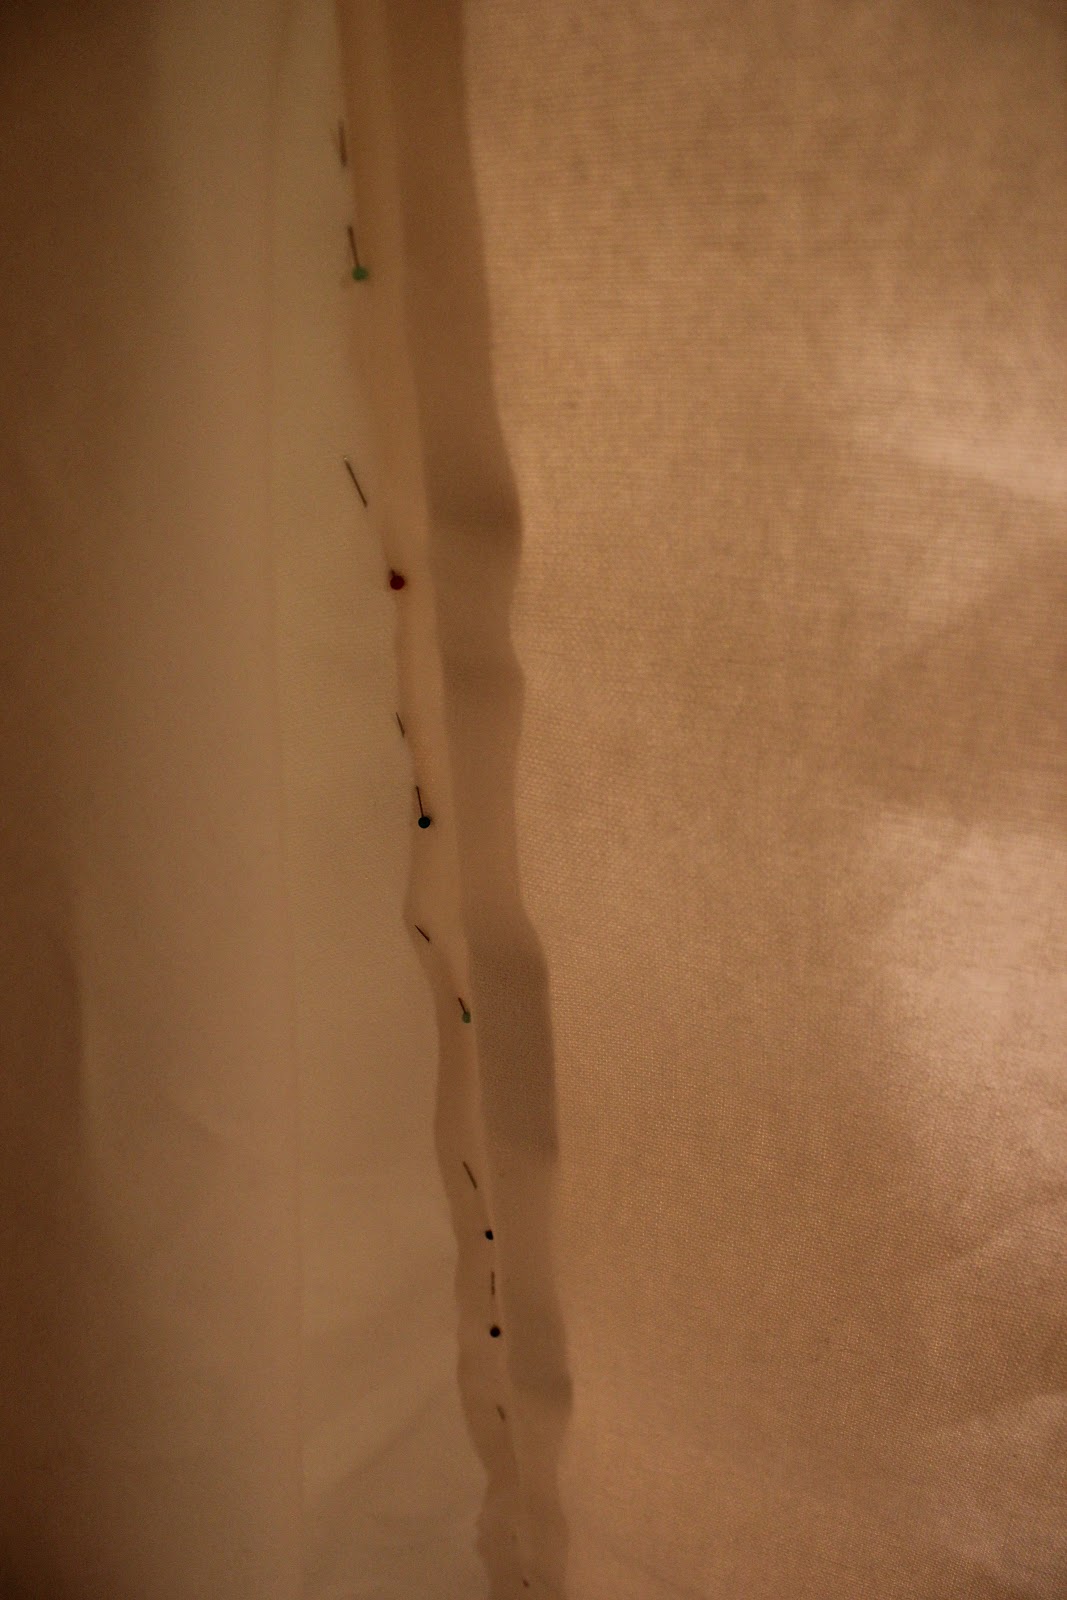
Using straight pins I pinned along the frame edge; this will be my sew line.
After I sewed along my pin line I used my sewing sheers to slice open the fold.
Press your seams open and you are ready to cover the left side.

Again make sure you line your selvage edge along the left back side and pin to frame.
Pin along the left front corner to create your sew line.
Run through your machine making sure not to run over any pins.
Cut off extra fabric along seam and press open.
Hem the bottom pressing under a 1/2" and then fold over an 1" 
Top stitch to give your hem a clean finished edge.

Next I printed out the letters to spell the word
 GROCERY
I just played in Microsoft Word experimenting with different font styles 
and sizes till I found the one I liked.
 "Heat n Bond" was ironed to my fabric.
I pinned my computer printed letter pages to the fabric 
and cut them out.
I then peeled off the backer paper exposing the adhesive.
 Pin the covering to the frame with your hem line flush with the floor.
Pin the letters to the front of your store.
Positioning them to fit your taste.
Use straight pins to secure the letters until you can iron them in place.
I used a 1/4" wide grosgrain ribbon to outline the store front window opening.
I eyeballed the placement of the ribbon while the cover was pinned to the frame.
Just fold the ribbon over when you reach the corners.
I edge stitched around both sides of the grosgrain ribbon to secure in place.

To make the windowsill I pressed a 3" wide piece of tan fabric to the heat n bond.
I made sure the piece was longer than the window opening.
Remove the paper backing and position your windowsill while the covering is pinned to the frame.
Remove fabric covering from frame and iron to fabric windowsill in place.
The greatest part about using the "Heat n Bond" is that if you want you can leave the 
sill as is.  There is no need to finish off the applique edges.
I chose not to finish off the edges of my letters because I felt it took away from the print I used.
But, I used a satin stitch to go around the edge of my windowsill to add a little dimension.
I also thought this opening would see a lot of wear and tear,
so by finishing off the edge I am strengthening the opening.

At this point you may add the roof to your store.
I attached a piece of ribbon that was 18" long to the outer corners of my store to form the "ties".
These "ties"will be used to secure the cover to the frame.
I also placed some in the seams above and below the window frame opening.

 We are almost done!
At this point I gave the frame cover one last good pressing.
Place it over your frame and tie into place.

Using tiny sheers I cut along the inner edge of my window.
Making sure not to cut into the ribbon or the fabric windowsill.


The store is now completed!


We are OPEN and ready for business!

If we could only get some customers ... LOL!


A Little Bonus

Friday, August 19, 2011


As you all know
I'm about to release a new pattern.
Well, at the suggestion of Susan from the The Felted Pear
I have made the matching 18" doll pattern

I'm so excited that my customers will be able to 
make not only a super cute dress for their daughter's 
but a matching doll dress as well!

I can only imagine all the smiles this will bring!

Bean is already asking for a second Sassafras Dress.

Flapper Swing Top

Thursday, June 30, 2011

I wanted to share pics from a recent project
I worked on with one of my students.
This top was super fun to make
and it really pushed her sewing skills to a new level.
We used variety of techniques to finish off the seams.
One involved graph paper and spray adhesive!
Okay, so I was thinking of hosting my very first sew along
and I thought this top would be a lot of fun to do.
If your up for the challenge leave me a comment
or send me an email
If enough people show interest in this project
we'll start in 2 weeks :) 


Slip Cover Craziness Week #2

Wednesday, June 29, 2011

Okay is everyone ready  ...  I am!
First grab your measuring tape and measure the center back section
along both the top and bottom.
Using a straight pin, preferably one with a big brightly colored head,
mark your center point top and bottom on the chair.


Now cut a piece that is about 6" longer then the length of the chairs center back.
Fold the piece in half length wise and finger press both top and bottom.
You will use this crease mark as a guide to help position your fabric on to the chair.

Pin the center back panel to the chair making sure the crease line you just created 
lines up with the pins you positioned earlier to mark center back points.
Working from top to bottom and from the center back to side seams 
smooth out your fabric and pin along your side seams.
Be sure to place your pins right along the edge of your chairs side seams.
You will use this as a guide for adding your side panels.
Now that you have you center back panel positioned the way you 
want it, take your scissors and cut along the center crease you created 
stopping about 1" from your chair.  
You have just created "notches" that you will refer to later 
to help make sure that the center back panel stays centered as you work.
Now is the time to trim off any excess along your pin line at the side seams.
I like to cut about 2" from my pin line 
 this leaves me plenty of fabric to play with later if problems arise.

Okay we are ready to work on the side panels ...
Cut two pieces as long as your center back seam making sure that
your pattern starts and finishes at the same point as it does on your center back panel.
Now you are ready to start pinning the side.
I generally figure out where the pattern will line up along the top of your piece
and put a pin there.  Pin this section loosely (if that make sense) as it is just a marker
and will most likely be altered later.
If you pin it to tight you run the risk of snagging your fabric while you work.
Starting from the bottom of your chair, and when I say bottom
I mean the bottom of the upholstery not the bottom of the chair legs.
fold under the side panel so the pattern will line up
along the pin line you created while fitting the back section.
gently fold, pin and smooth your fabric as you work your way up the piece.
The shape of your chair and the size, shape / repeat of your print
will determine how far up they will match.
You don't want to force the match as this will cause your fabric to be off grain.
This could cause puckering and pulling of the fabric later on.

Now that you have pinned one side it is time to sew!
Gently remove your fabric from the chair making sure
to remove any pins that secure the fabric to the chair itself.
Make sure the pins you placed along your side seam are secure.
Lay your piece flat on the floor and finger press your seam.
I'm a big fan of finger pressing ... lol!
Gently pull the side panel over so it lays on top of the back panel
As you work your way up the seam pull the pins out partially.
After you partially pull out a pin push it back in so it pierces
through the finger pressed seam and secures your panel.
I apologize the pic below isn't the best quality
but it shows how the pins mark your match point along the finger pressed seam.
(My finger pressed seam falls in the bottom middle section of the photo)

It is time to take your fabric over to your sewing machine and start sewing!
I like to use a slightly smaller stitch length then normal.
This will help keep your seams from bursting under all the everyday stresses your chair will go through.
Run your stitch line in the crease you created when you finger pressed.
Being sure not to sew over any pins.
Try to pull your pins out before they get to close to your presser foot.
Place your needle in the downward position when you lit your presser foot to remove your pin.

If all goes well this is what your finished side seam should look like.

Next week we will work on the cording.

Please me any questions you might have.  
I hope I have written this clearly enough for everyone to follow.
Also email me me pics of your work in progress I would love to share it with everyone.
Happy slippin!


Tip Junkie handmade projects


An All Nighter For Me and A Freebie For You!

Monday, June 27, 2011

I have been so swamped with work for the last 6months at least.
On Friday I turned in my last project on the book.
Yeah my summer vacation can now start!!!
I have some new projects coming up
 Wedding Stuff ... YEAH!
But they are not due till the end of October.
Anyway these poor little pinch pleat valences were going to be the death of me.
I worked on them for over 12 hours straight!
First my Roenta iron for the first time ever
developed scorch marks down the front and was
rendered useless.

I had to use my back up iron to press everything ..SHEESHHHH!
To make matters worse I decided at 5am I didn't like the spacing of the pleats
on one of the valences, so I riped it out and started over.
They were completed by 7:30 am just in time for me to get ready for my day with the kids.
The whole time this was going on all I could think was


You can download the following print using this link
Please note freebies are for Willow bean Studio followers only.

When's the last time you had to pull an all nighter? 
 Leave me a comment I'd love to hear your story.
Tip Junkie handmade projects

The Cranky Princess

Monday, June 13, 2011

You would never know from the expression on her face
that just 30 seconds earlier she was as happy as can be.
Especially since Mommy had made her a new tu-tu!


I think her temper tantrum lasted longer than it took to make the skirt.
To make this tu-tu skirt you need:
5/8 yard sparkle tulle
5/8 regular tulle
3/4 yard lining fabric
1" wide elastic (should be the circumference of child's waist plus 1")
the above quantities listed are for a size 3/4 skirt.

First I cut the sparkle tulle in half along the fold 
I then cut the regular tulle into 4 sections that were equal in length and width to 
the two sparkle tulle pieces.

I layered the sparkle tulle on top of two pieces of regular tulle.
You will now have two separate piles of tulle.

I took each pile and with my sewing machine ran a basting stitch across the top edge.

Now you are ready to create the lining.
I cut two rectangles out of my lining fabric that were the same length as my tulle.
To determine the width for the lining 
I took half my daughters waist circumference and added 4" to that number.
I joined the side seams with 1/2" seams and did a double roll hem at the bottom of the skirt.

Now take your two piles of tulle and gently pull the basting threads so that the 
pieces are the same width as one side of your skirt lining.
Pin one section to the front and the second to the back.
Attach with 1/2" seams.

Okay we are ready to finish off this skirt!
Take your elastic and over lap the back by a 1/2"
Using your sewing machine secure seam with a zig zag stitch.
Cut a rectangle that is 3 1/2" tall and 1" longer than the circumference of the skirt.
Close the back with 1/2" seams.
Fold piece in 1/2 with your elastic sandwiched in the middle.
Set to skirt top with 1/2" seams gently stretching the elastic as you g.
While setting the waistband to the skirt top 
make sure not to catch the elastic in your seam as this will hinder the elastics ability to stretch. 

Hopefully your little princess will not be as cranky as mine was 
upon the receiving her new skirt!


I swear I have OCD

Thursday, May 19, 2011

It occurred to me recently while looking at old projects
that I so have crafter's OCD!
I will rip things out over and over till I get all my seams to match.
I get such a high when I can get the pattern on the fabric
to match when it crosses over a seam.
I get really excited when I manage to carry the pattern
on the fabric from the top of the piece of furniture
seamlessly down the entire piece

The best part is when the piece is complete. 
I have such a feeling of satisfaction knowing all the little
places where the pattern lines up perfect.
I bet the average person wouldn't even notice if they
were off by a 1/4" or so.  But for me they need to be dead on.

Now if I could carry my OCD qualities over to my housework ...


Related Posts Plugin for WordPress, Blogger...