


Last summer I did a guest post on Someday Crafts.
It was an awesome honor to post there.
I thought it was time to repost it here on my blog.
Today I'm going to show you how to knock off the PB Kids grocery store.
It was an awesome honor to post there.
I thought it was time to repost it here on my blog.
Today I'm going to show you how to knock off the PB Kids grocery store.
First my husband constructed a wooden frame from 1" x 2"s.
He used angle brackets to secure the corners of the frame.

The finished frame measured 49 1/2" tall, 24" wide, and 19" deep.
Then I began covering the frame with canvas;
you could also use a drop cloth, old drapes, or even bed sheets
would work for making the frame cover.


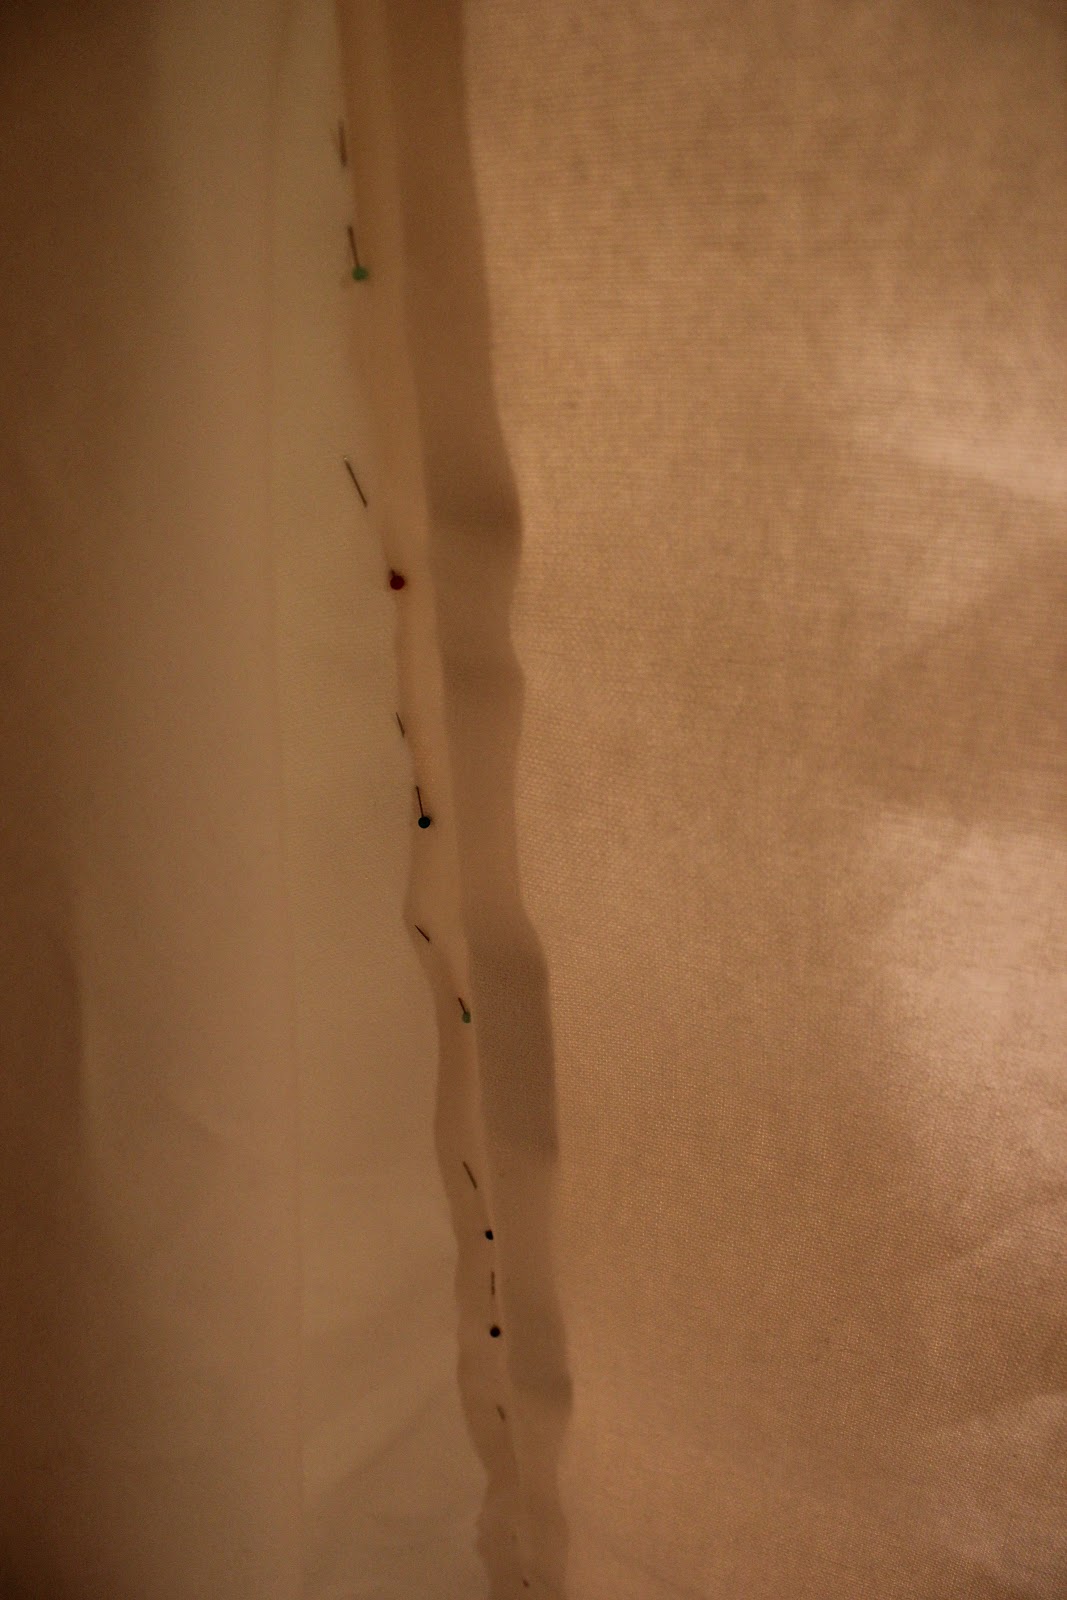
First I pinned a 1 1/2 yard long piece to the frame.
I made sure to place the selvage edge along the right back edge and pinned it to my frame
By placing the selvage edge along the outer frame I save myself from having to clean finish that edge.
I then folded the fabric allowing for some seam allowance along the right front corner.
(see above far right photo)
Using straight pins I pinned along the frame edge; this will be my sew line.
After I sewed along my pin line I used my sewing sheers to slice open the fold.

Press your seams open and you are ready to cover the left side.

Again make sure you line your selvage edge along the left back side and pin to frame.
Pin along the left front corner to create your sew line.
Run through your machine making sure not to run over any pins.
Cut off extra fabric along seam and press open.
Hem the bottom pressing under a 1/2" and then fold over an 1"
Top stitch to give your hem a clean finished edge.
Next I printed out the letters to spell the word
GROCERY
I just played in Microsoft Word experimenting with different font styles
and sizes till I found the one I liked.
"Heat n Bond" was ironed to my fabric.
I pinned my computer printed letter pages to the fabric
and cut them out.
I then peeled off the backer paper exposing the adhesive.
Pin the covering to the frame with your hem line flush with the floor.
Pin the letters to the front of your store.
Positioning them to fit your taste.
Use straight pins to secure the letters until you can iron them in place.
I used a 1/4" wide grosgrain ribbon to outline the store front window opening.

I eyeballed the placement of the ribbon while the cover was pinned to the frame.
Just fold the ribbon over when you reach the corners.
I edge stitched around both sides of the grosgrain ribbon to secure in place.

To make the windowsill I pressed a 3" wide piece of tan fabric to the heat n bond.
I made sure the piece was longer than the window opening.
Remove the paper backing and position your windowsill while the covering is pinned to the frame.
Remove fabric covering from frame and iron to fabric windowsill in place.

The greatest part about using the "Heat n Bond" is that if you want you can leave the
sill as is. There is no need to finish off the applique edges.
I chose not to finish off the edges of my letters because I felt it took away from the print I used.
But, I used a satin stitch to go around the edge of my windowsill to add a little dimension.
I also thought this opening would see a lot of wear and tear,
so by finishing off the edge I am strengthening the opening.
At this point you may add the roof to your store.
I attached a piece of ribbon that was 18" long to the outer corners of my store to form the "ties".
These "ties"will be used to secure the cover to the frame.
I also placed some in the seams above and below the window frame opening.

We are almost done!
At this point I gave the frame cover one last good pressing.
Place it over your frame and tie into place.

Using tiny sheers I cut along the inner edge of my window.
Making sure not to cut into the ribbon or the fabric windowsill.

The store is now completed!

We are OPEN and ready for business!

If we could only get some customers ... LOL!


